
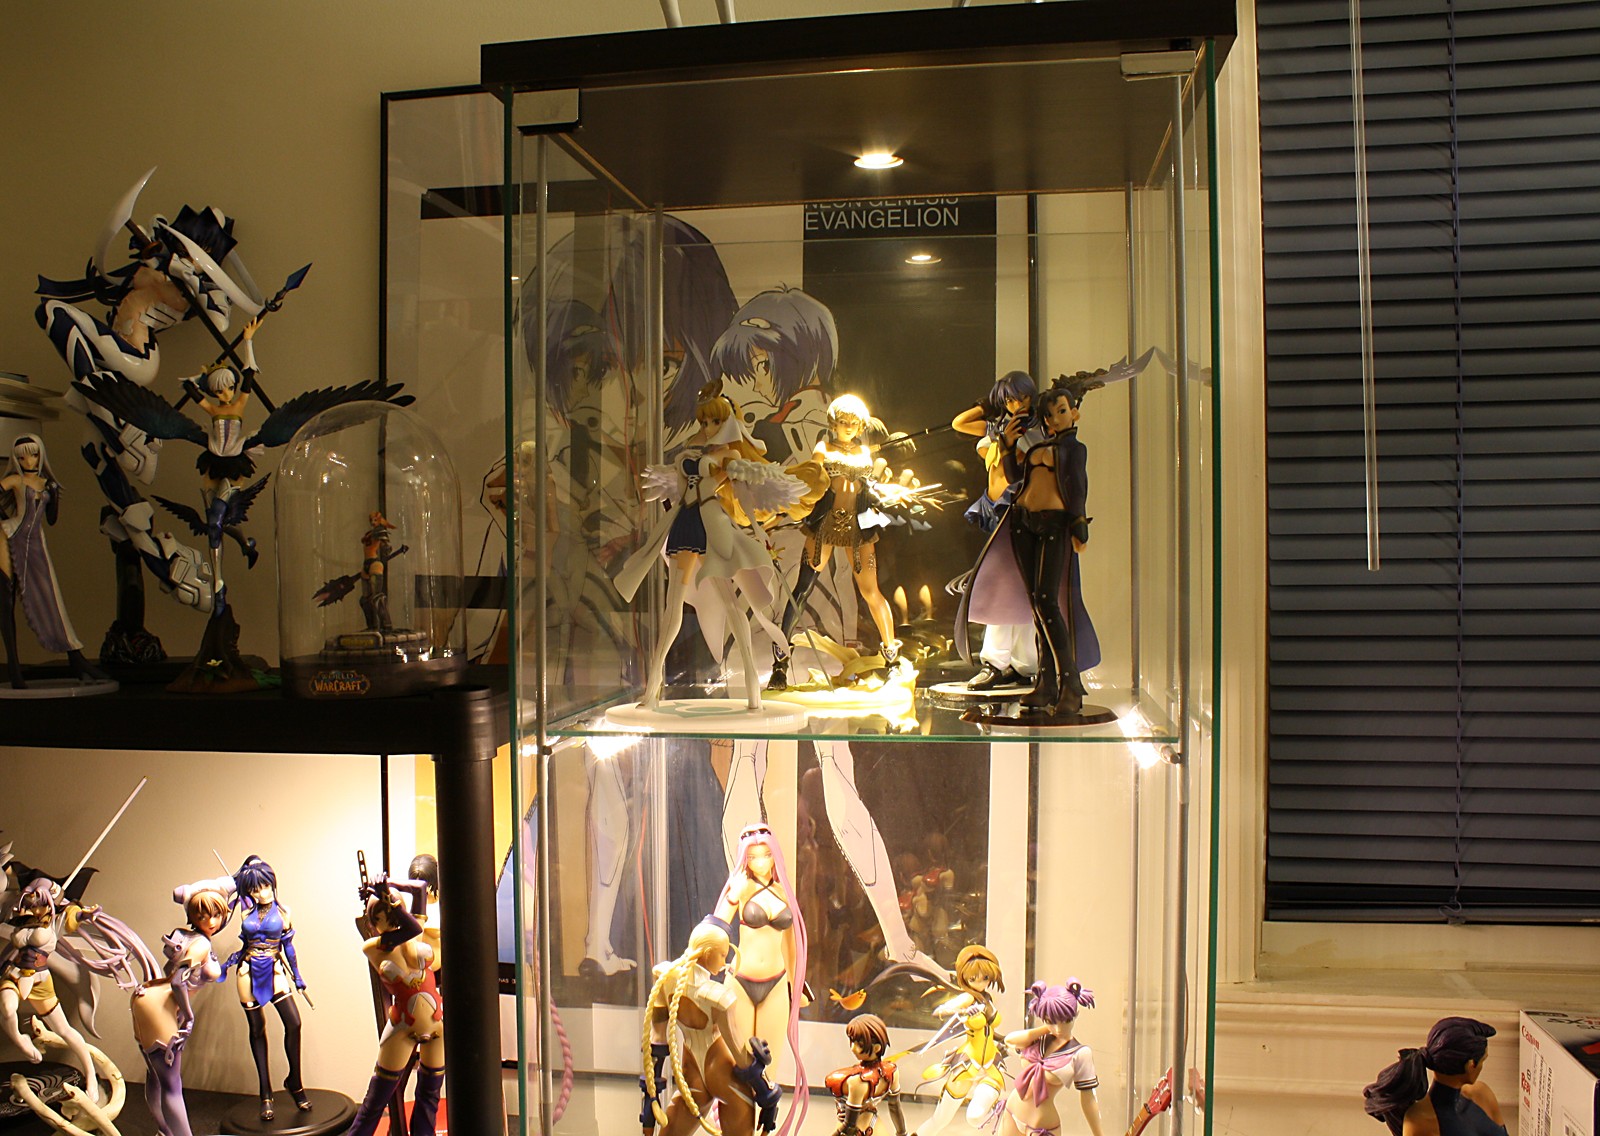
Like many figure collectors, I own one of Ikea’s Detolf display cabinets. It’s a popular choice, and for good reasons; it’s compact, shows off figures very well, and most importantly, it’s ridiculously cheap. That’s not to say it’s perfect, however. It’s rather heavy, somewhat shoddily designed (like most furniture from Ikea, I find), and it doesn’t have lighting. While I can’t do anything about its weight or construction, I can do something about the lack of lights.
Here’s my Detolf on a typical sunny afternoon.
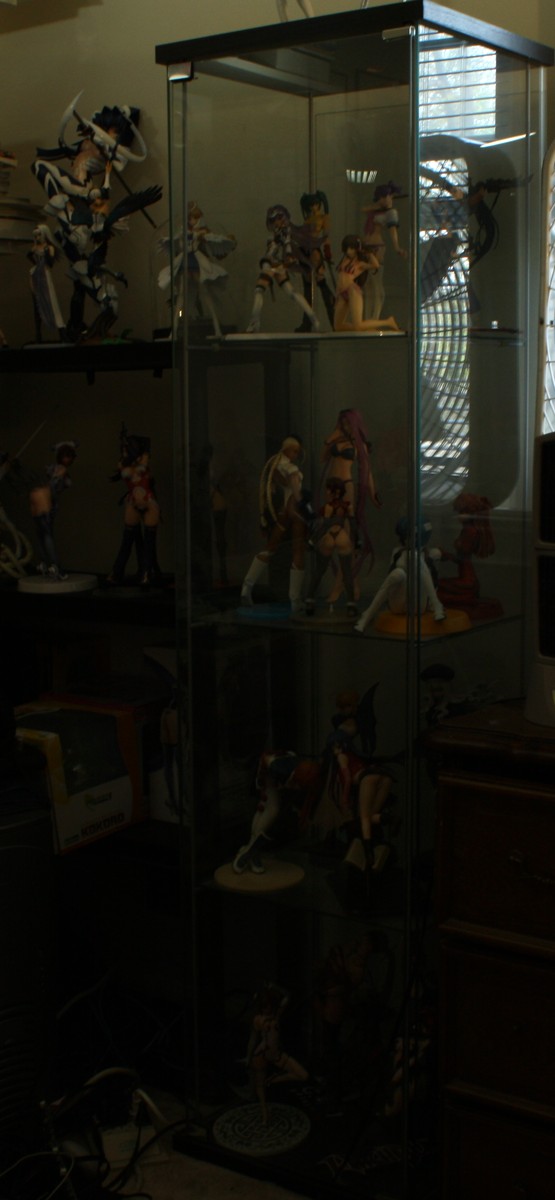
Yuck. A glass display case is sorta pointless if the contents are too dark to be seen.
There are a lot of ways to light up a Detolf. Perhaps the most prosaic and certainly the easiest to set up would be to simply shine a lamp into it. While it would get the job done, it’s a rather slipshod solution and besides, a lamp would take up valuable space that I need for more figures. Another way to do it would be to use Ikea’s Non light; it installs in the top of the display case. I didn’t want to do that for a few reasons: one, I really don’t like going to Ikea, two, it would only illuminate the top shelf, and three, if I remember correctly the Non light uses a halogen bulb. I’m not sure how hot it gets but I’m wary of putting a halogen light near plastic figures; I’ve already got problems with leaning and ankle warping, I don’t need to melt down the heads of my figures as well.
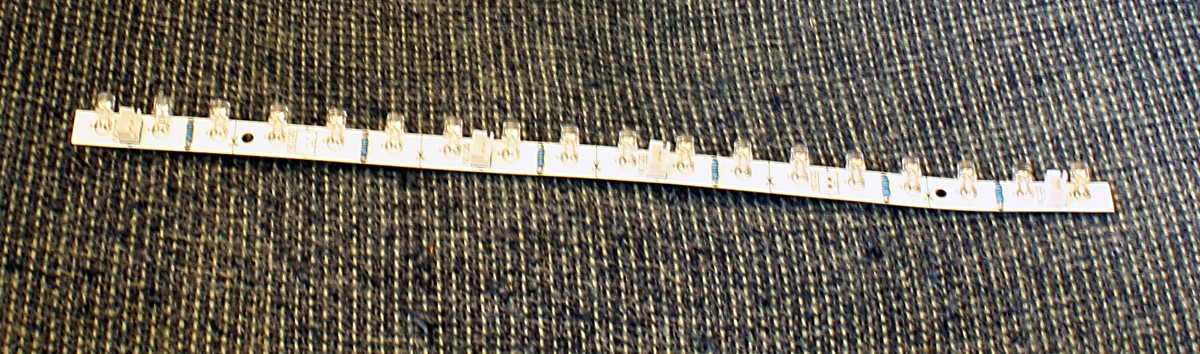
The solution I went with are LED strips. I got these from Oznium, a company that seems to cater to automotive hobbyists. There’s no reason why these lights won’t work for my purposes, however. I bought their Flathead LED Strips as they were cheap and come in a warm white color; I prefer a more golden-tinted light rather than clinically cold white light.
Oznium also sells power connectors, and I used one of these with a 12V AC adapter I had laying around (I think it came with one of my external hard drives). I hooked everything together to test it out.
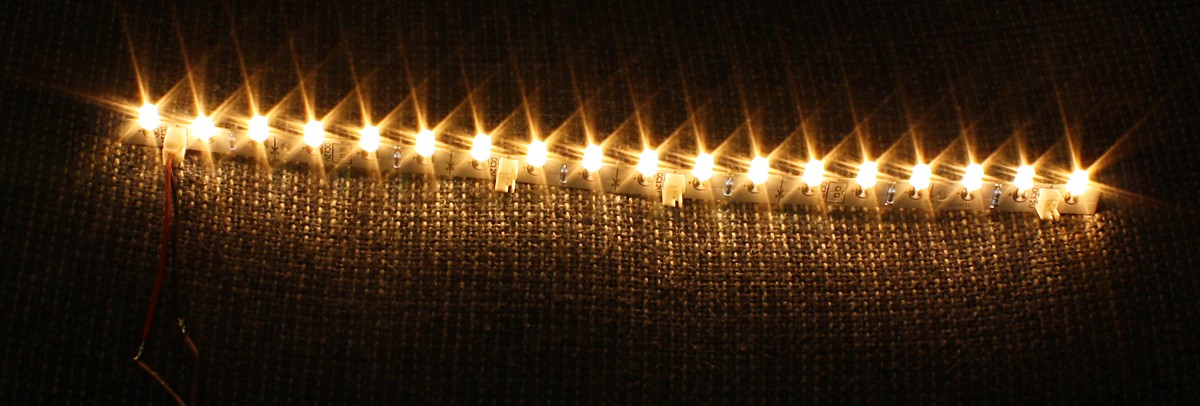
Success! I’ve got my camera’s exposure turned down for this photo; the LEDs are a bit brighter than what’s shown here.
The pylons for the glass shelves make convenient and ideal attachment points for the LED strips. I ordered four strips, each twelve inches long, and I cut each in half. I used some twisty ties that I got in a box of garbage bags to tie the lights to the pylons.
Speaker wire is very convenient to use as hookup wire for these lights. I got a 75-foot roll of 24 gauge wire from Radio Shack for like four bucks. In retrospect I probably should have gone with a thicker gauge; the 24 gauge wire was very thin and a real pain to work with.
The power wires run inside the door, on the left. The long wire running to the top of the picture doesn’t actually power any of the lights in the display case.
It powers these lights here. I forgot that the top shelf doesn’t have support pylons above it and I didn’t see a way to easily mount the lights on the bottom of the Detolf cover, so I wound up with an extra LED strip. Having no use for it, I decided to mount it on the underside of this cheap plastic shelf. The bottom of the shelf is ridged, so I curled up the strip and taped it there. You can see how flexible these LED strips are.
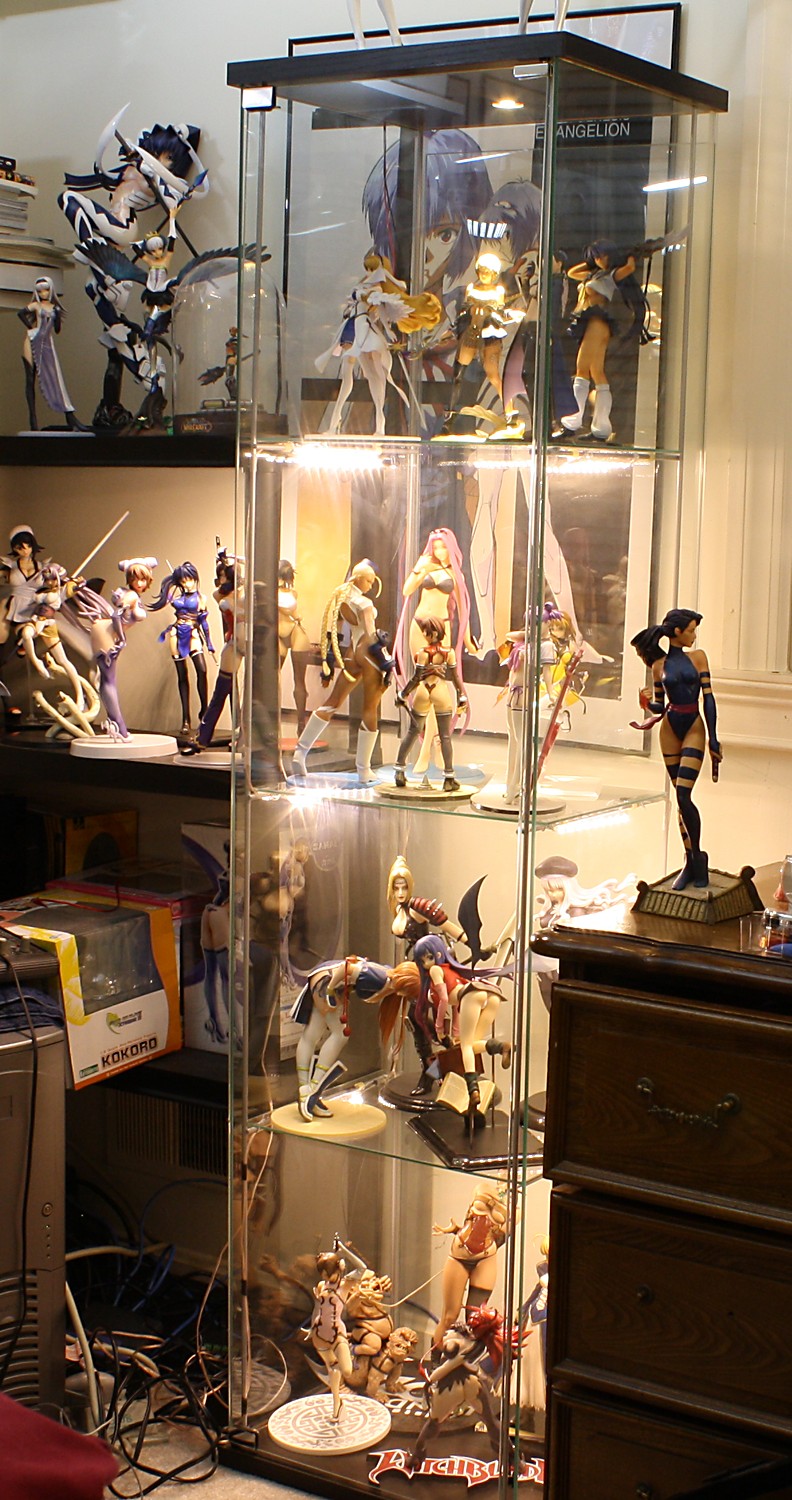
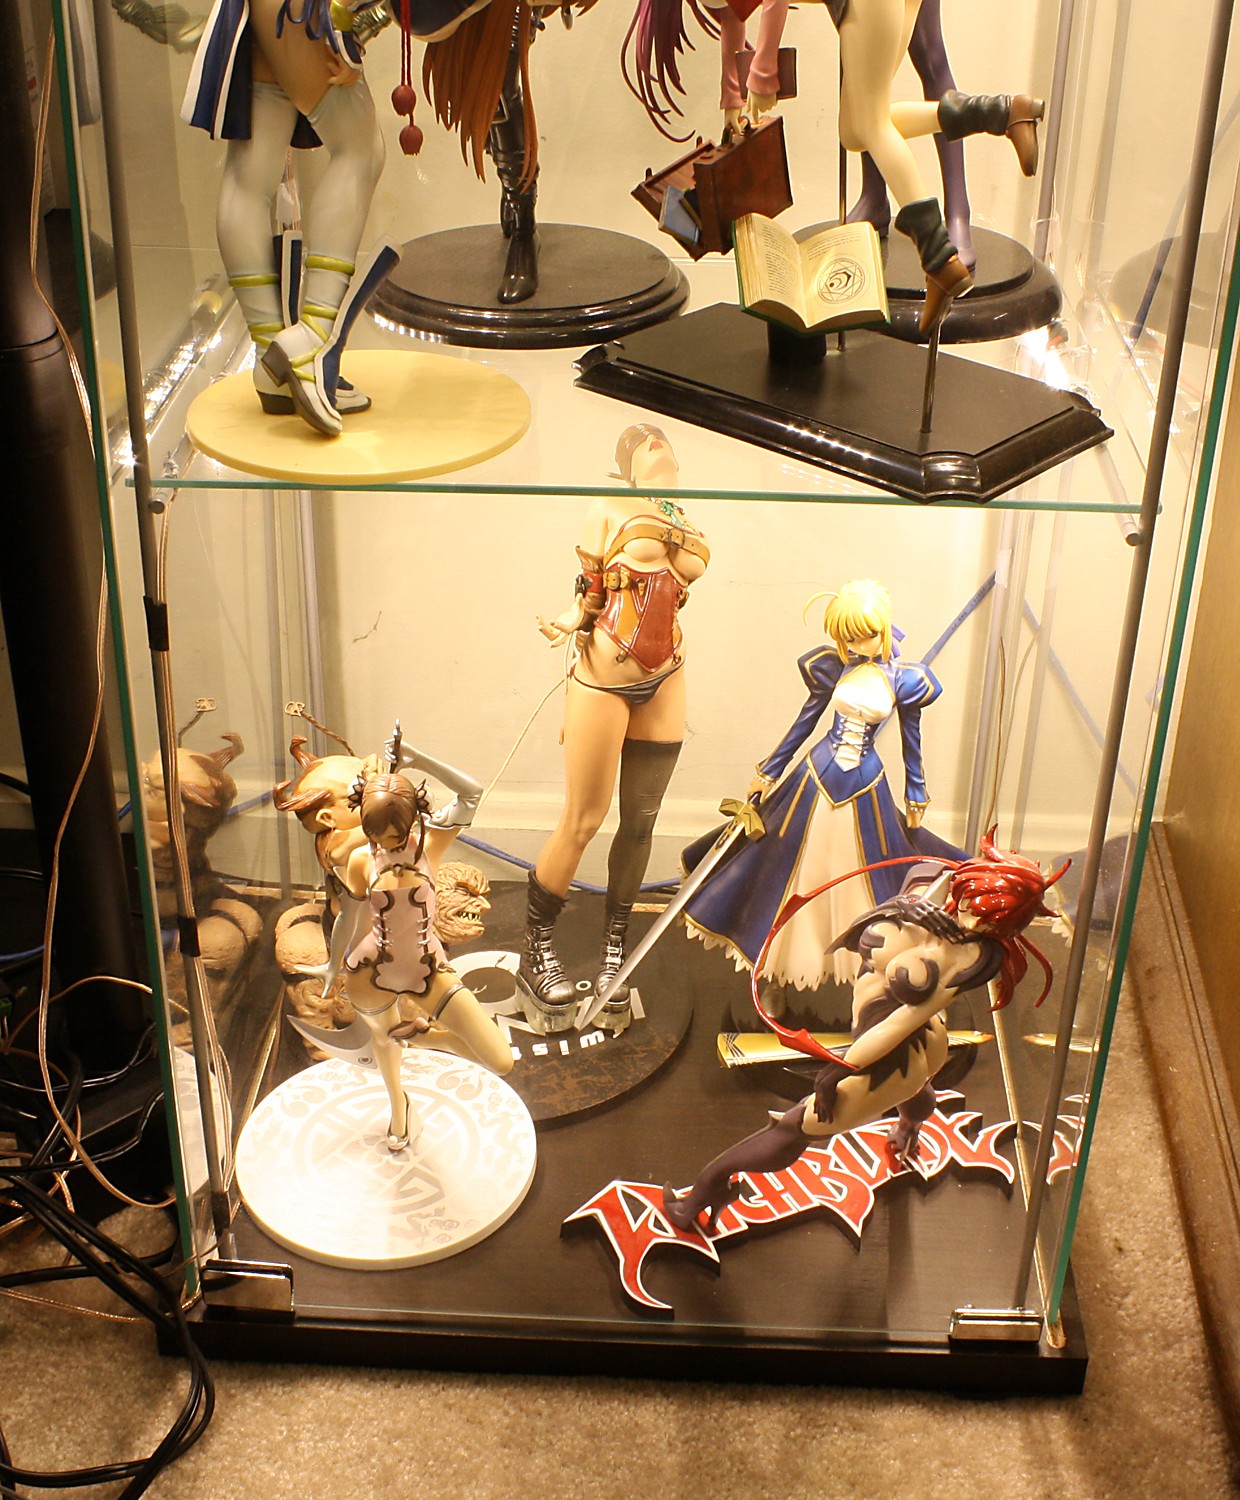
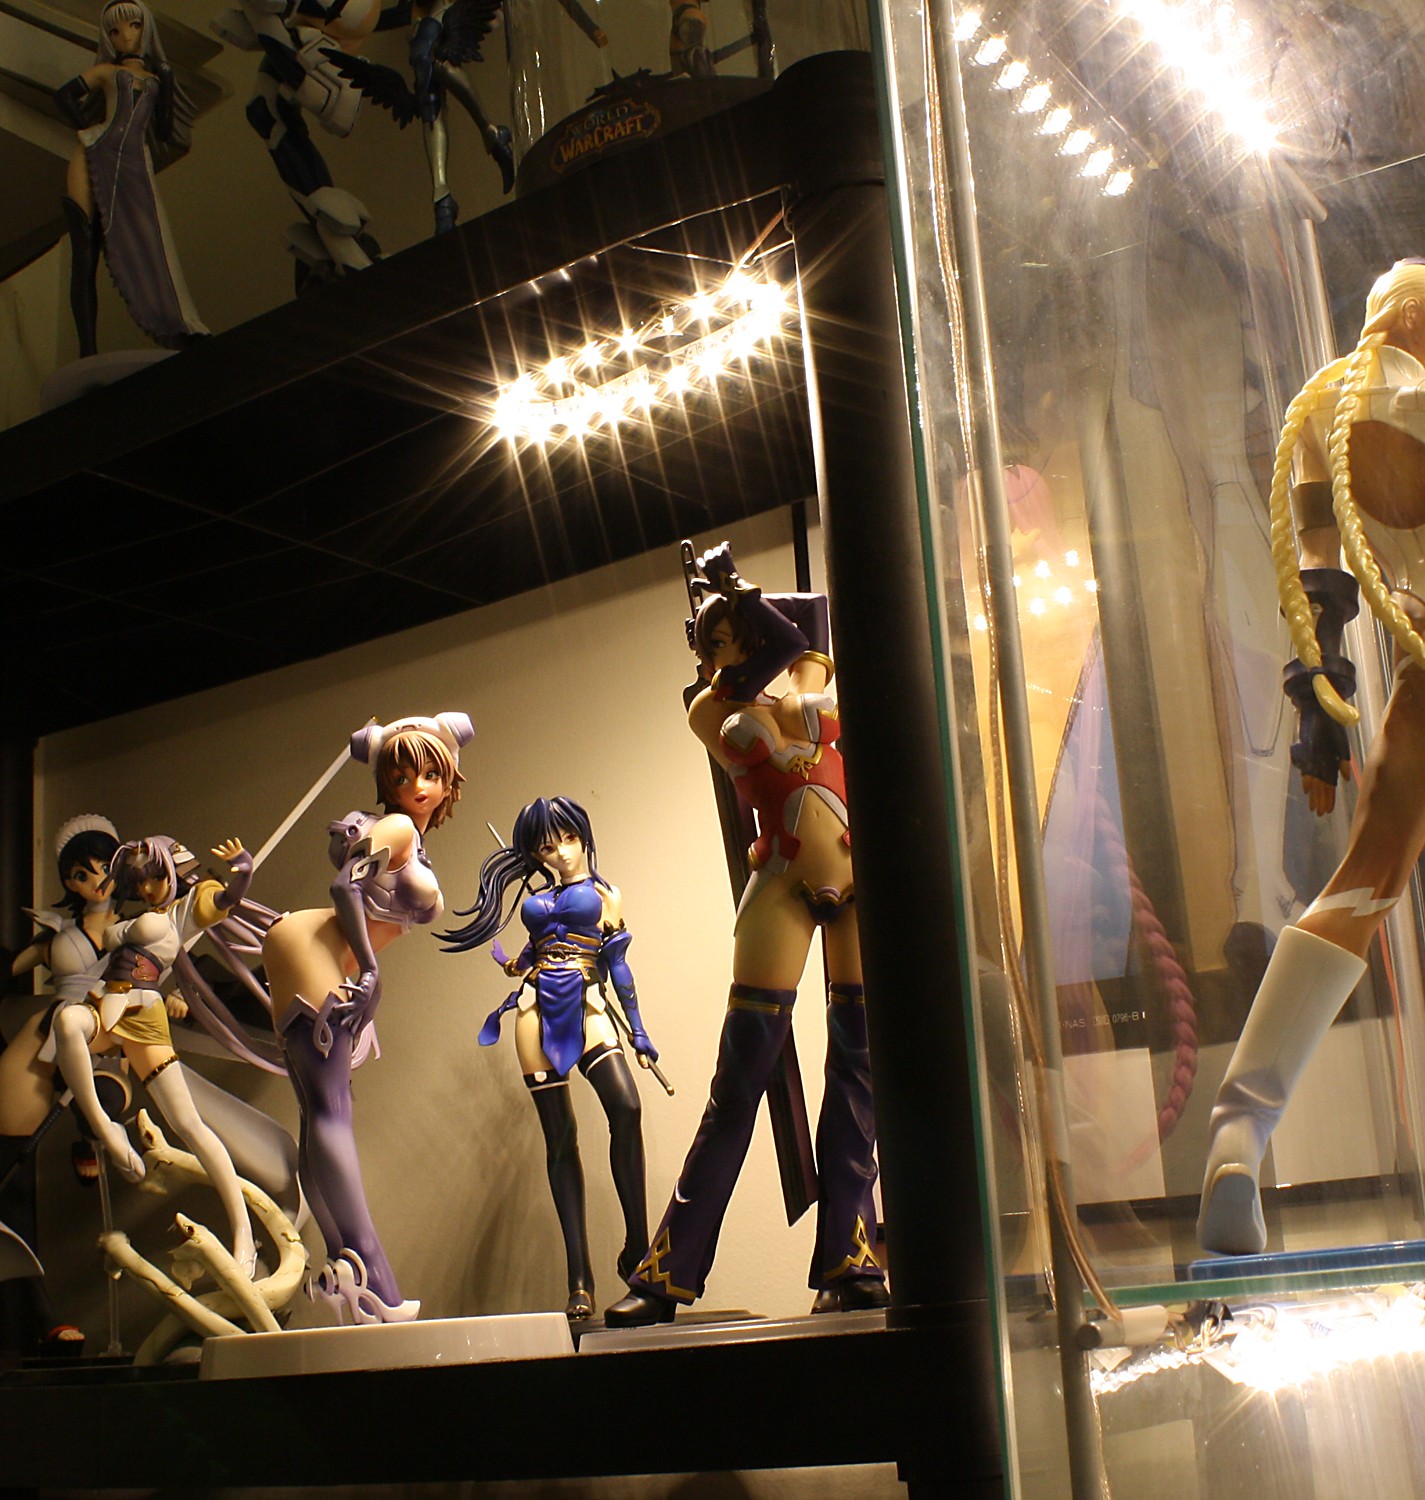
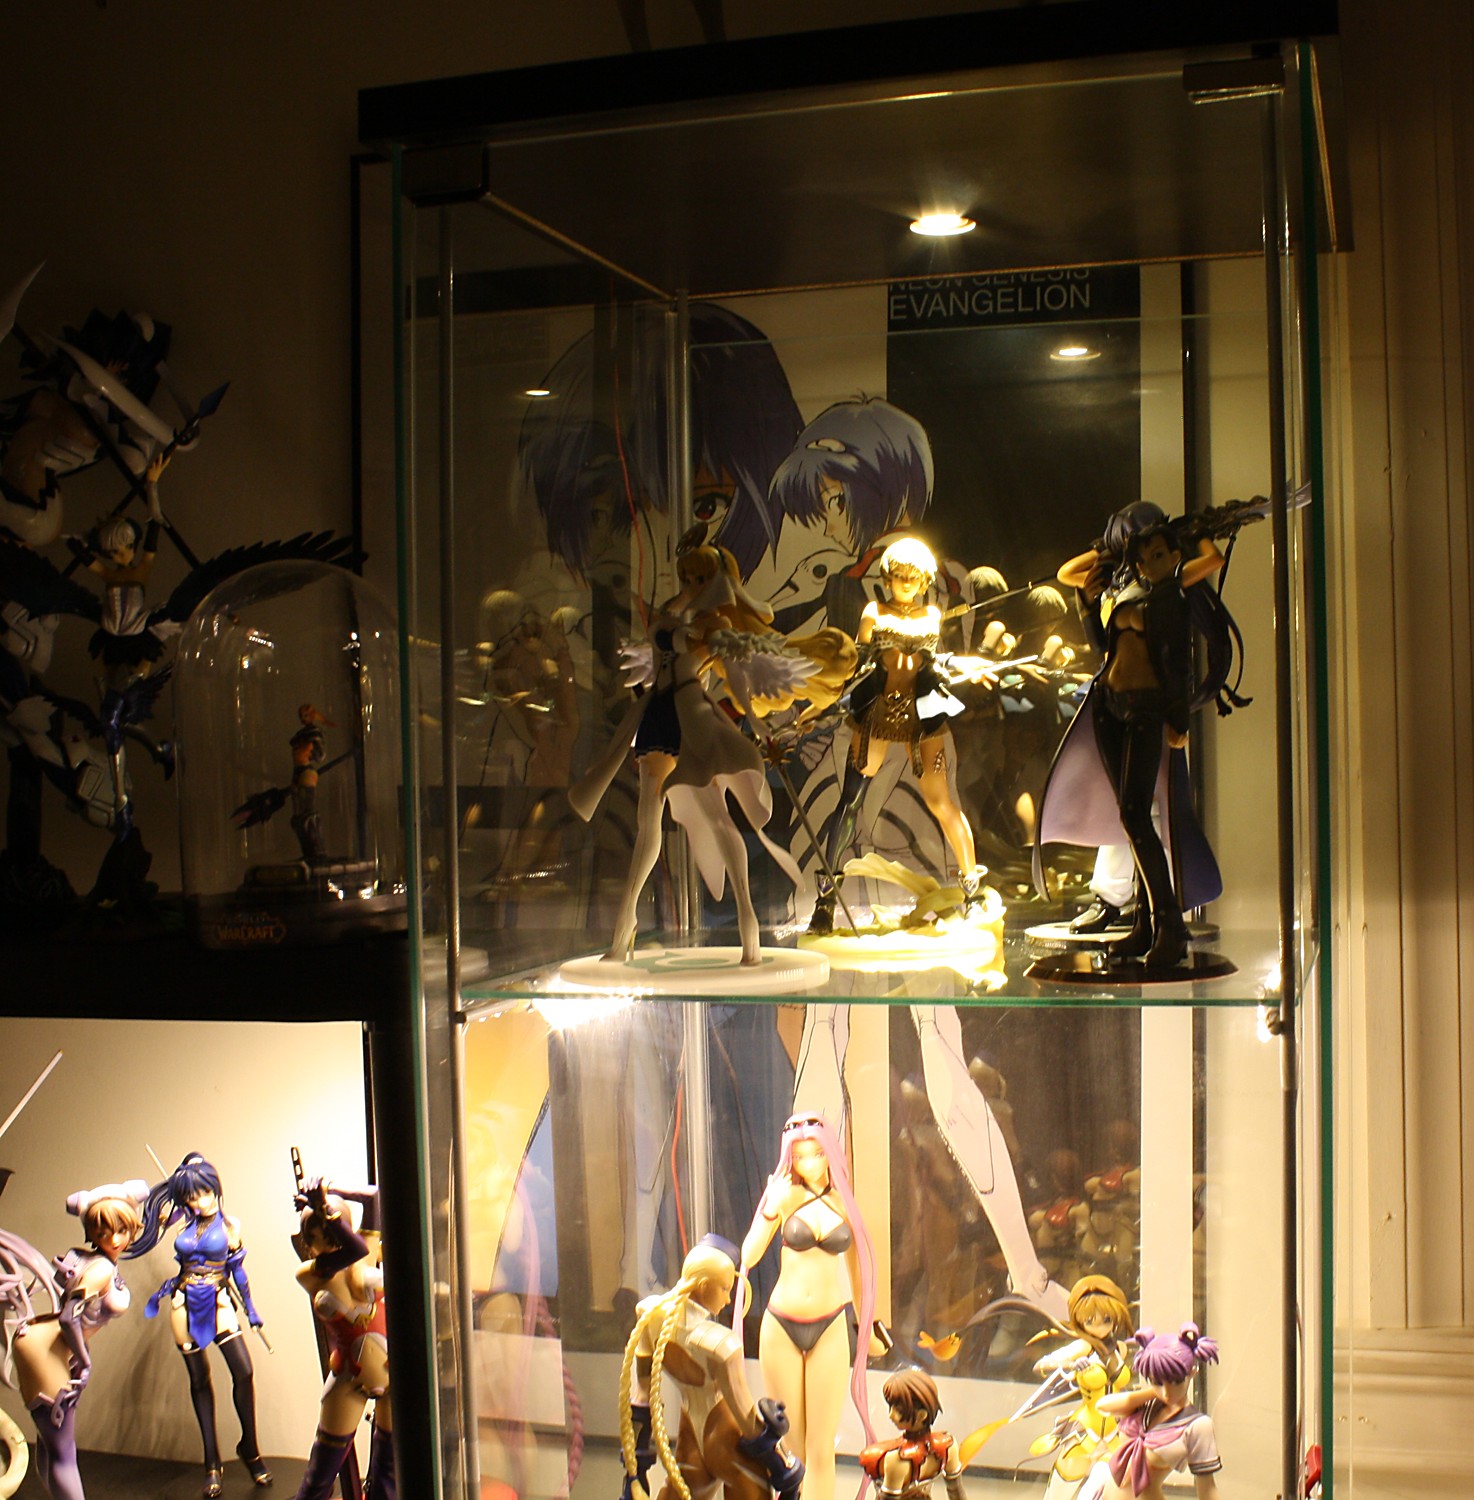
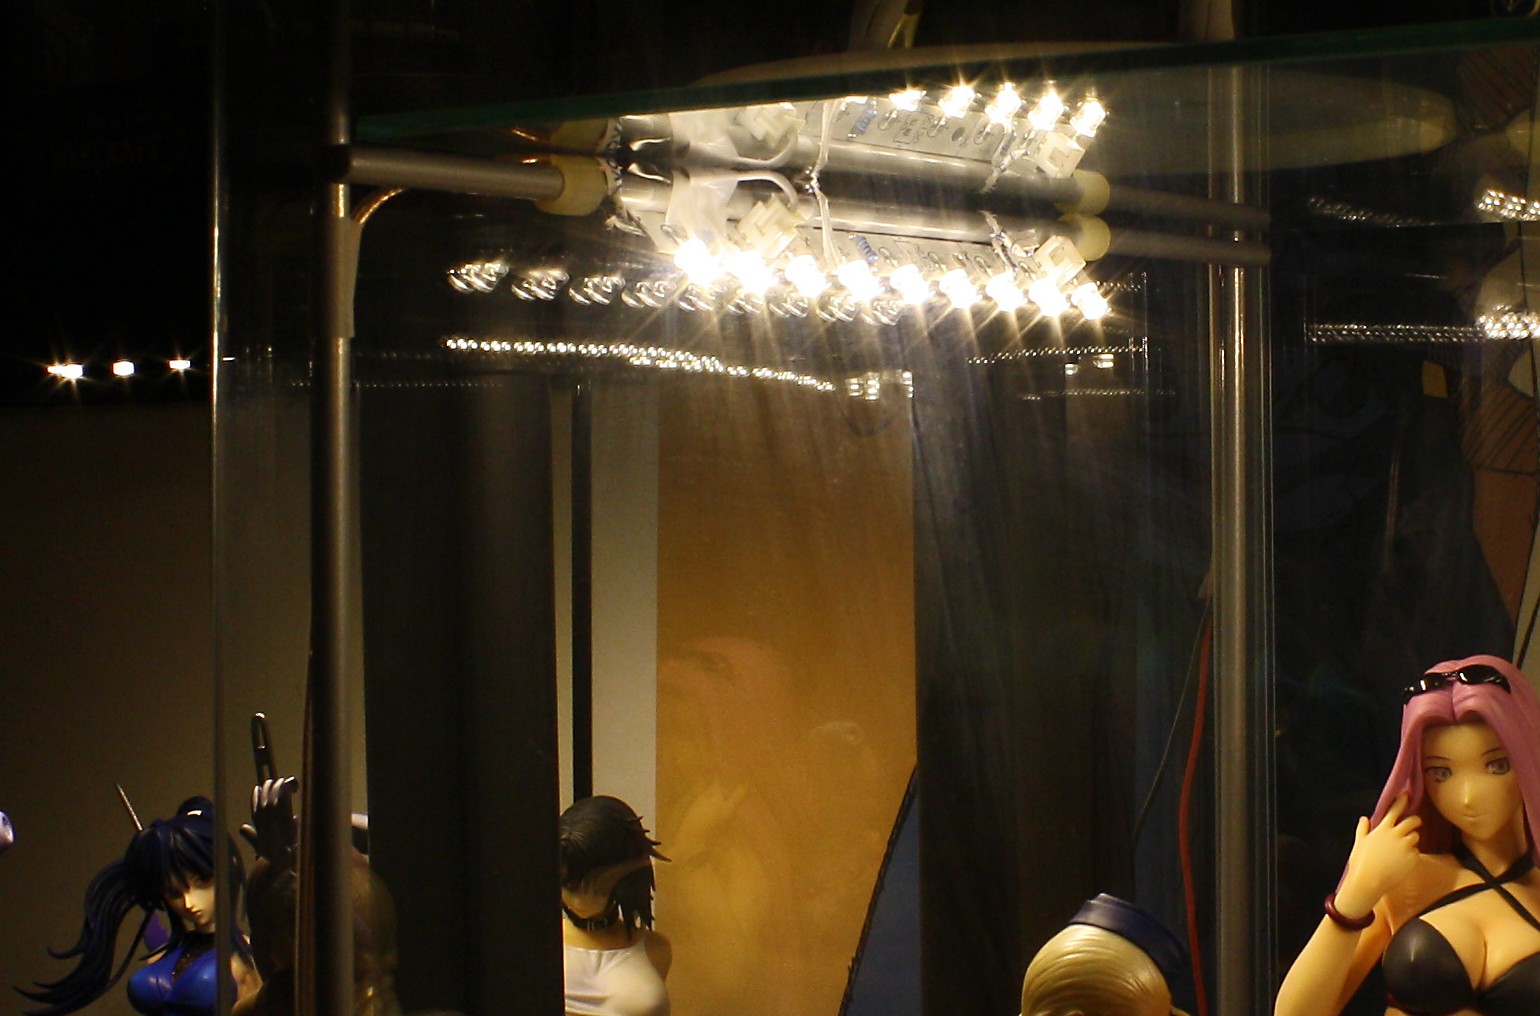
Let’s turn off all other room lighting and see how bright these lights are.
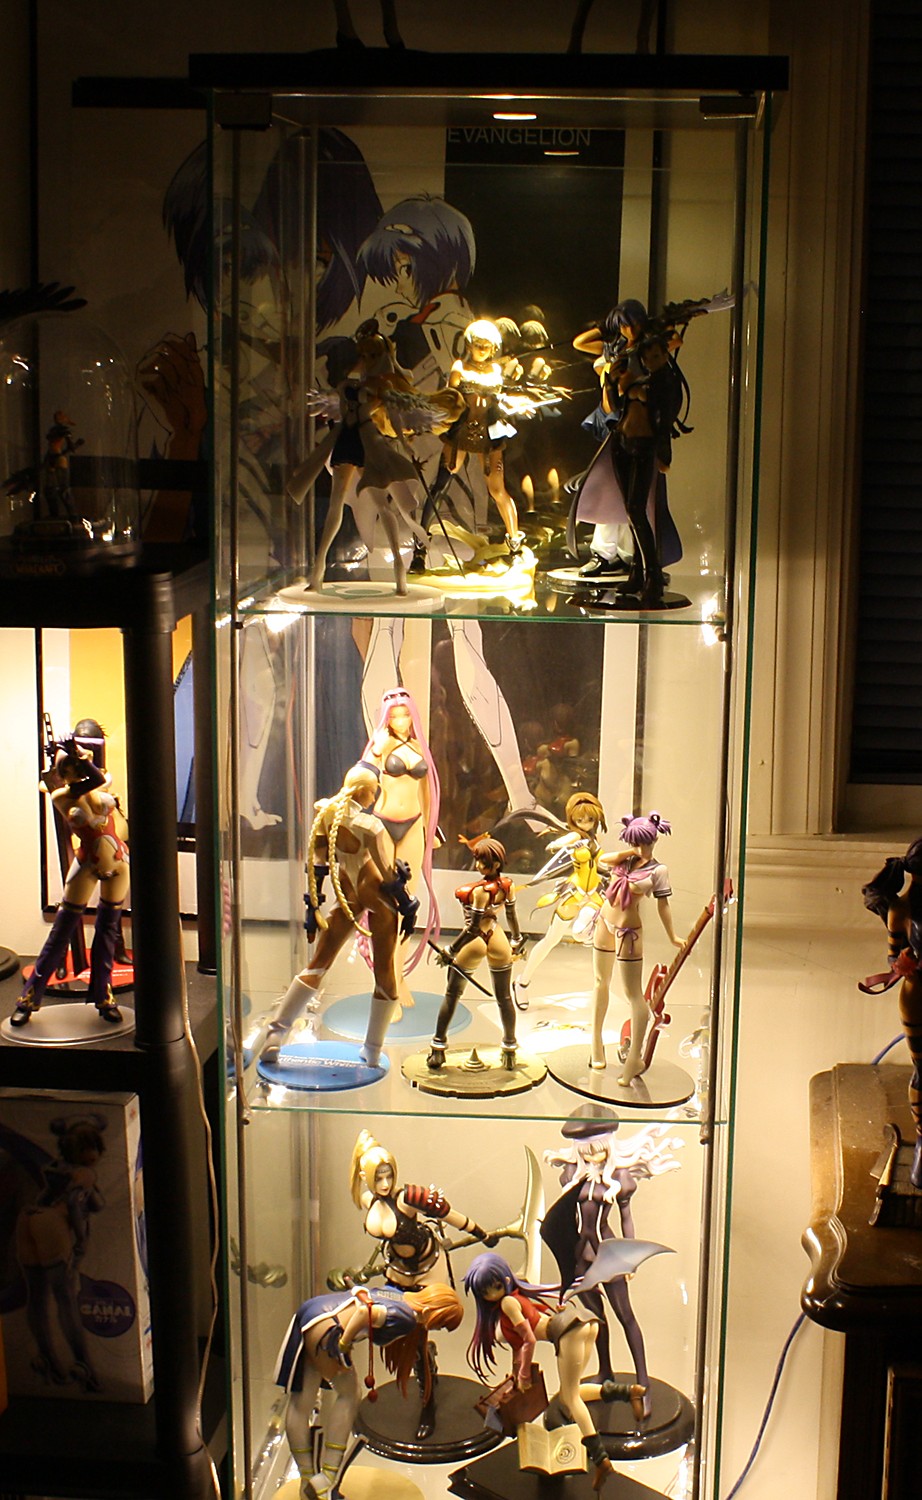
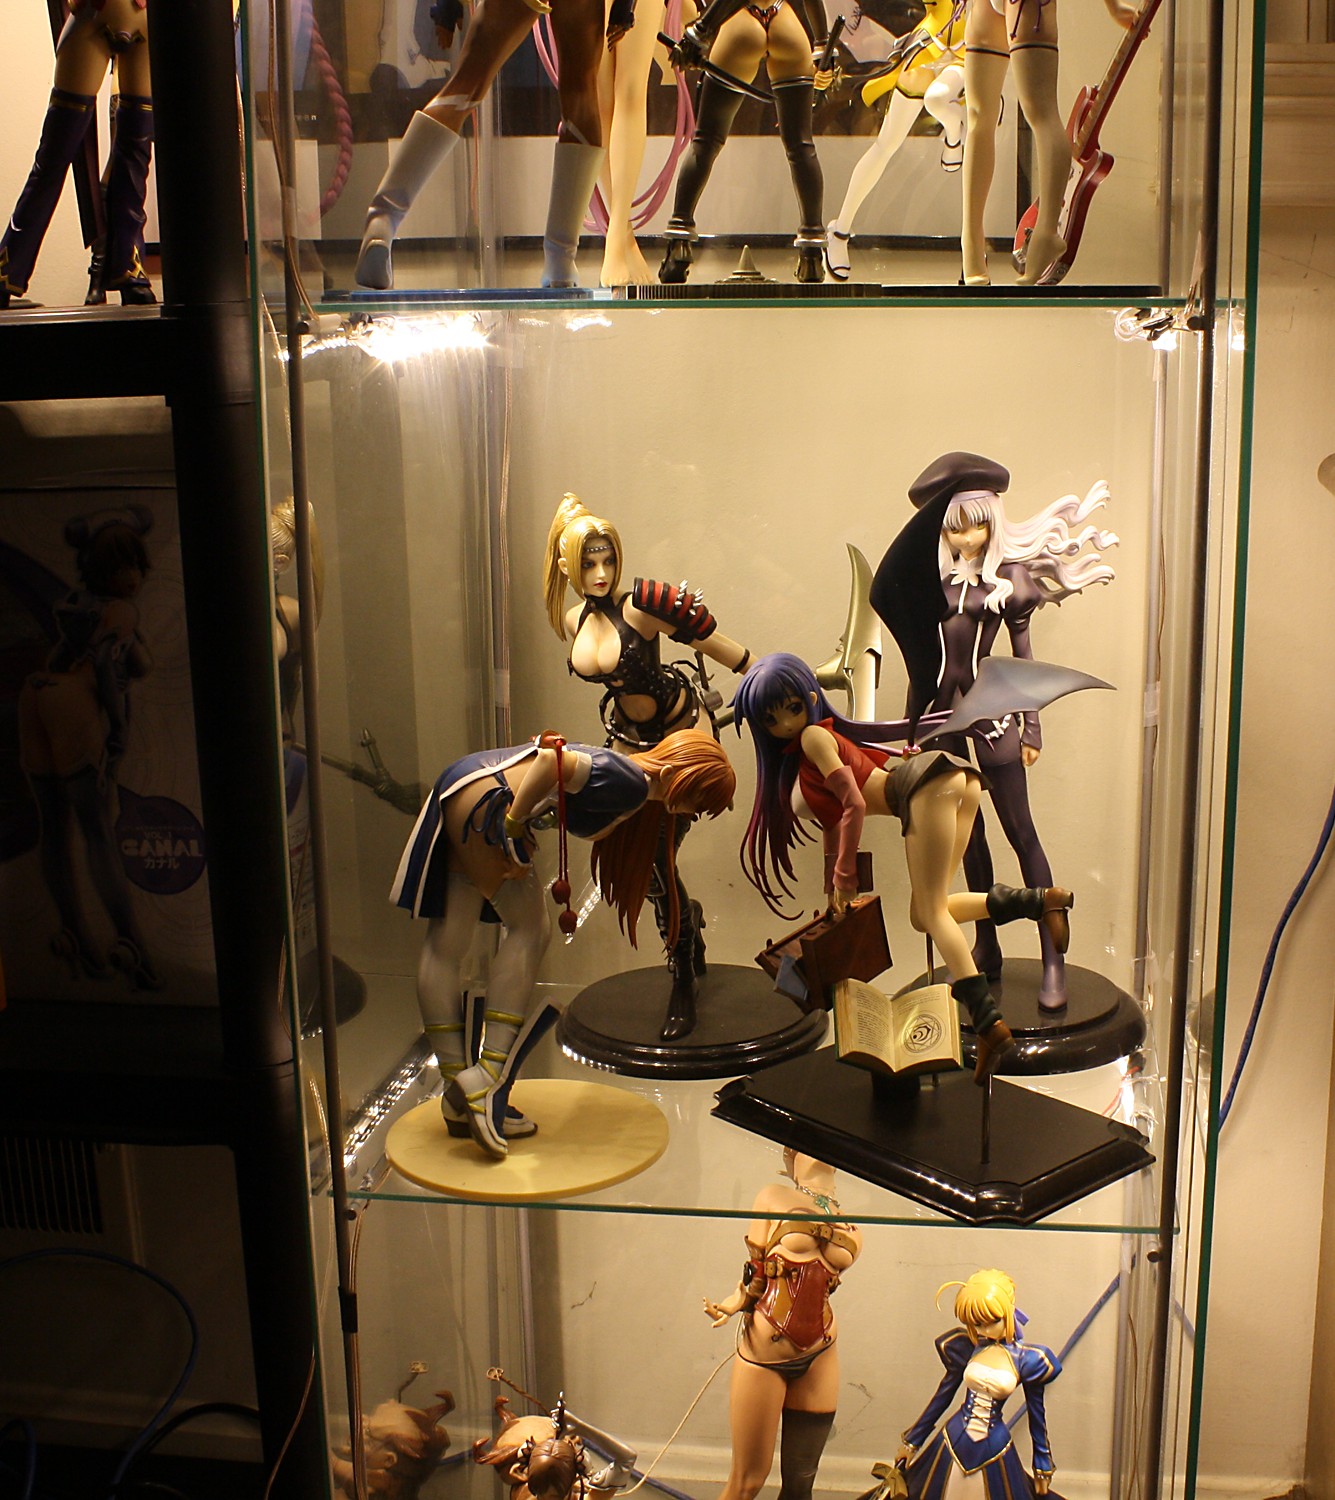
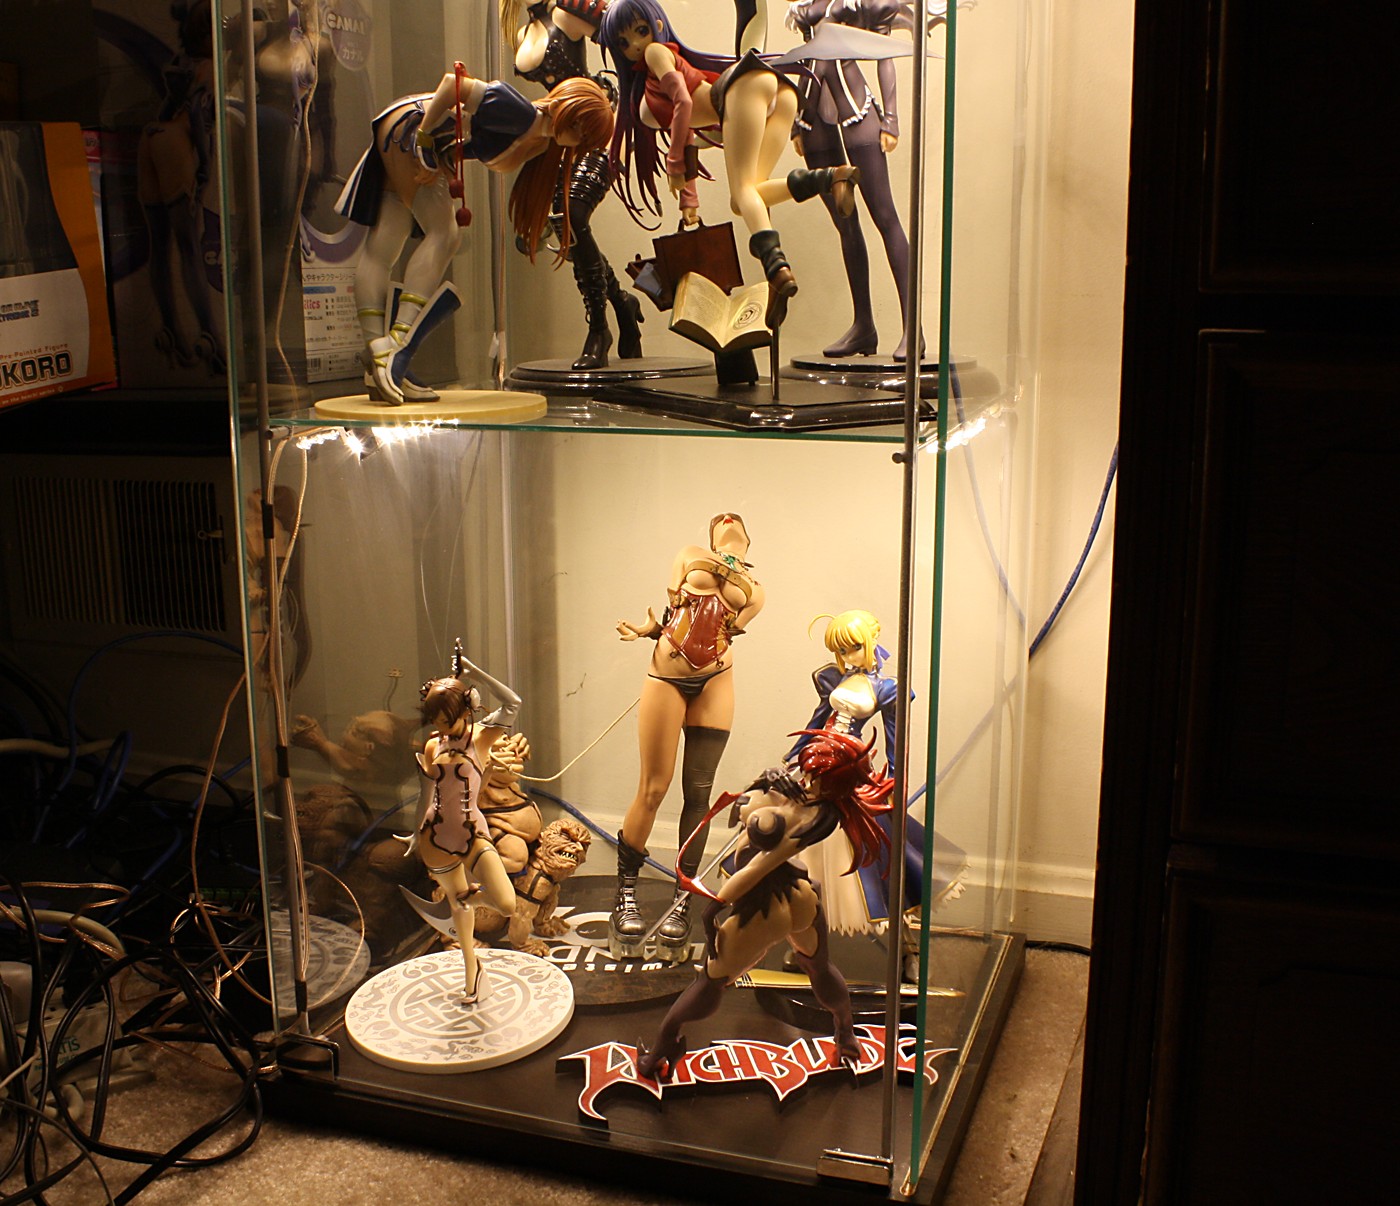
They’re pretty dang bright.
I bought a spotlight from Oznium, thinking that maybe I could use it as an auxiliary light for my photography. Unfortunately, I didn’t like the results I got from it; I bought a warm white one which doesn’t look right in my photos. Lacking further use for this light, I decided to drop it in the hole in the top of the Detolf. It actually fits perfectly. However, I’m not getting good results from it in this role, either. Since it’s a spotlight, its light emission is very focused with little dispersion, and it doesn’t really work too well for wide-area illumination. Oznium does sell a floodlight in the same form factor, so I’m thinking about buying one and swapping it with my spotlight.
Close-up of how I mounted the LED strip to the pylon. I dropped the exposure on this picture so that the details of the LED strip are visible.
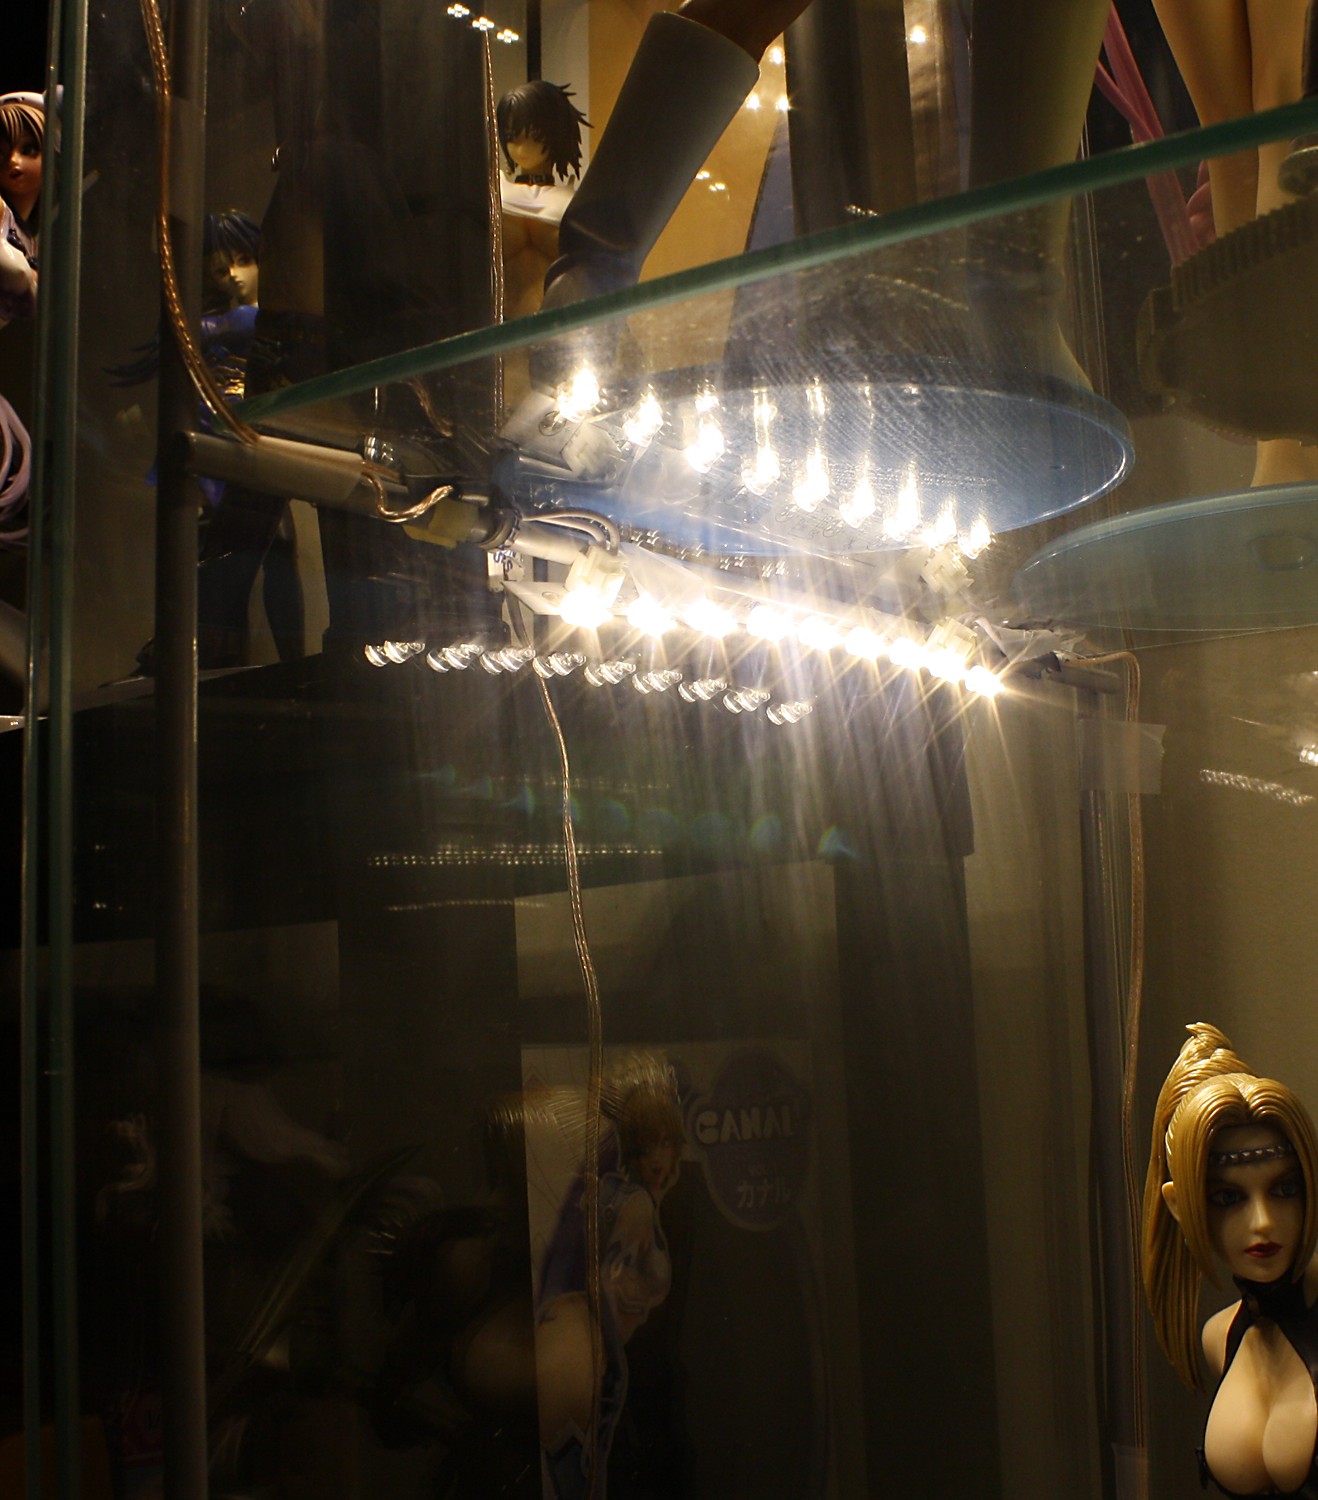
Another view. One of the cool things about these LED strips is that they’re self-contained; they’ve already got the appropriate resistors soldered on and you can daisy-chain power connectors. This strip receives power from the far connector (note to self: next time, use a more manly tape like duct tape or electrical tape rather than wimpy transparent Scotch tape). The close connector powers the LED strip mounted on the above shelf pylon.
This was a pretty easy project, but it was fun to do and I think the results came out pretty nice.


Thank you so much for this entry, Tier. I found it VERY VERY useful. I love your leds, all of them, including the next shelves near the Detolf.
I also laught when you said melting figure heads xD
By the way, I love your Psylocke.
There is a better way to hide the wires… when I finish with my novel summary I will finish up that Detolf LED project.
>> Singer_Yuna
Thanks for the kind comments!
>> Wolfheinrich
I thought about using wire loom to hide them, or maybe heat-shrink tubing. I decided it wasn’t too big a deal, though. The most visible wires run outside of the case and I’m not sure what I want to do with those; maybe I should have taped them to the back of the Detolf so that they aren’t just hanging out in space.
ah you’ve inspired me to resume looking into a lighting solution for my detolfs ^^; nice results! although perhaps still a bit pricey for me… i’ll have to shop around and see if i can just solder together my own stuff ^^;
This is a great guide!Thanks for posting it!
The fact that the Ikea Bulb is a Halogen Light always kept me from buying it due to said reasons.
I doubt ill follow this since i suck at handywork but its good to know nevertheless
good guide you’ve posted. i got a detolf myself too and kinda want some blings to it.
but at the end of the day i guess im plain lazy and my room is always well lit whenever i’m in it. as im on 2nd floor and virtually dont have any sunlight directed to my pc area at all and my detolf’s just beside my pc heh
Thanks! Yeah, it took a while to get everything wired up. I probably could’ve saved myself some time by using some thicker wire. I also forgot to mention that I should’ve gotten color-coded wire, cuz it was a huge headache trying to remember which wire was positive and which was negative.
Thanks for the step-by-step instructions, dude! I recently bought a Detolf and I too was wary of using their lame lamps for the fear of it melting my vinyl figures. Then I found this online and all my problems will be solved. Your case looks sick! Thanks again for all the hard work involved in posting this. Cheers, m8!
I’m glad this was helpful. I’m sort of surprised that Ikea hasn’t come out with an easier off-the-shelf solution for Detolf lighting; putting lights in the display case really makes it look much more appealing.
This guide was really helpful! The Oznium lights are pretty bright, but I modified the setup a little bit to give light in the right place:
http://www.flickr.com/photos/32456433@N02/sets/72157622353950048/
Three 3-LED segments mounted on the side rails gives better front light, so their faces aren’t in shadow 🙁 It’s also 200% harder, so it might not be worth it, depending on how picky you are… It took me 2 days just to mount everything. OTL
Thanks! Your setup looks really cool. What sort of light did you drop in the top, was that one of Oznium’s floodlights or something else?
I didn’t quite think about it when I first set up these lights, but I should have positioned the light strips on my Detolf towards the front of the case. I guess I didn’t quite think about how the back of the shelf doesn’t really need to be illuminated. Unfortunately I cut the wires pretty short so I don’t have enough slack to easily reposition them.
I like your collection a lot XD I don’t have the poseable E2046 figure but it looks really neat, and I’m thinking about getting Kasumi to complete the Muv-Luv trio.
This is a really cool setup, thinking about trying it out myself. I have one question though (sorry if it’s a dumb one, I have very little experience with electrical stuff).
I can’t really tell from the pictures but did you use a junction box to power all the strips or did you work out a way to interconnect the strips? It looks like the only interconnecter Oznium sells is just 3 inches long.
I do use a junction box, but that’s mainly because I know nothing about powering electronics and it was the easiest way I could think of to use a spare AC adapter without having to do the wiring myself. It also let me power one of their little floodlights which I dropped in the top of my display case (it doesn’t work all that well for lighting a Detolf, to be honest). I then connected the strips in one series (or I might’ve done one series per side … it’s hard to see the wires in the back); I cut the interconnect wire and spliced in an appropriate length of speaker wire so it’d reach the next light strip. Oznium has some helpful photos; the third photo shows how each strip has multiple power connections. You can plug in a connector to one socket to supply power, and then plug in another connector to the next socket to send power to the next light strip. The fourth photo shows how you can daisy-chain the lights.
Aha, it makes sense now. Thanks for the response and the guide!
Thanks so much for the useful tips! Your collection is awesome and the lights present the figures beautifully. I am thinking about setting up lighting to 3 Detolf cabinets like yours, but I have no experience setting it up and connecting the wires; how did you safely splice the speaker wire to each LED strip?
So as I understand it, all the materials I need for each Detolf case would be the LED strips (I am thinking about using the 3M sticky side LED strips to attach to the pylons–what are your opinions on this?), a junction box, speaker wire, and an AC adapter?
Thanks!
Thanks! I took the interconnect, cut it in half, stripped about a centimeter of insulation off of each end of the interconnect and spaaker wire, and then spliced each end to a length of speaker cable. I soldered the ends, but you could also use a connector like a butt splice or a crimp cap (they are slightly less intimidating to use if you’ve never soldered before, but they make for a bulkier connection. You can search Google and Youtube for “crimping wire” to see how to use them. Assuming you’re in the United States, Lowe’s or Home Depot will have butt splices and crimping tools in the electrical section). Alternatively, you could simply strip the ends of the wires, twist them together like a twist-tie, and then cover the connection with electrical tape. This doesn’t make for a great electrical connection and probably no expert would recommend doing this, but I did this for my car stereo install (when I was younger and didn’t know better) and it worked okay (though when I got older and learned better, I dismantled my car interior again and re-did the connections). I think that soldering would make for the cleanest connection.
Yeah, you would need LED strips – I’d recommend mounting them a bit further towards the front of the cabinet than I did; I mounted them in the middle of the pylons which doesn’t light up the faces of the front figures very well. Do you mean you want to use some type of mounting tape to attach the LEDs? I think that would work; you can just mount the LED strips so that the power jack faces the bottom of the cabinet (in my photos, the jack faces towards the top), as it would get in the way of the tape. Apart from that, you will need, as you say, a junction box, speaker wire (I recommend getting this from a store like Radio Shack or Lowe’s rather than Best Buy, since they charge ripoff prices for all the cables they sell), an AC adapter, a bunch of interconnects (at least seven, I’d buy more just in case), and two or more power connector (or you could just buy a couple extra interconnects and cut the connector off of one end). You’ll also need some electrical tape and a few tools like wire strippers and a small Philips mini screwdriver like the one here (the terminals of the junction box have plates that you screw down to clamp the wires secure).
I like your artwork XD
Beautiful light strips. Our side also produce light strip. If you need to be able to log on to our website. ledbetop
Thanks for posting up your solution – It’s inspired me to go a similar way in lighting my Detolf cabinets!
No problem, I am glad to have been helpful.
I need help in knowing how to install those LED strips. i have the strips, the connectors, the 12v wire that should go all the way down in the detolf… i just dont know how to connect each strip (each strip pasted on each shelf) to the main wire
It’s been ages since I set this up, but if I remember right, I used these connectors. I cut them in half and soldered the power and ground wires to them; one connector goes into the LED strip, and then another goes out to provide power to the next strip. (They also sell a different connector but you save money by cutting the other connector in half.)
Que hermosa colección ,